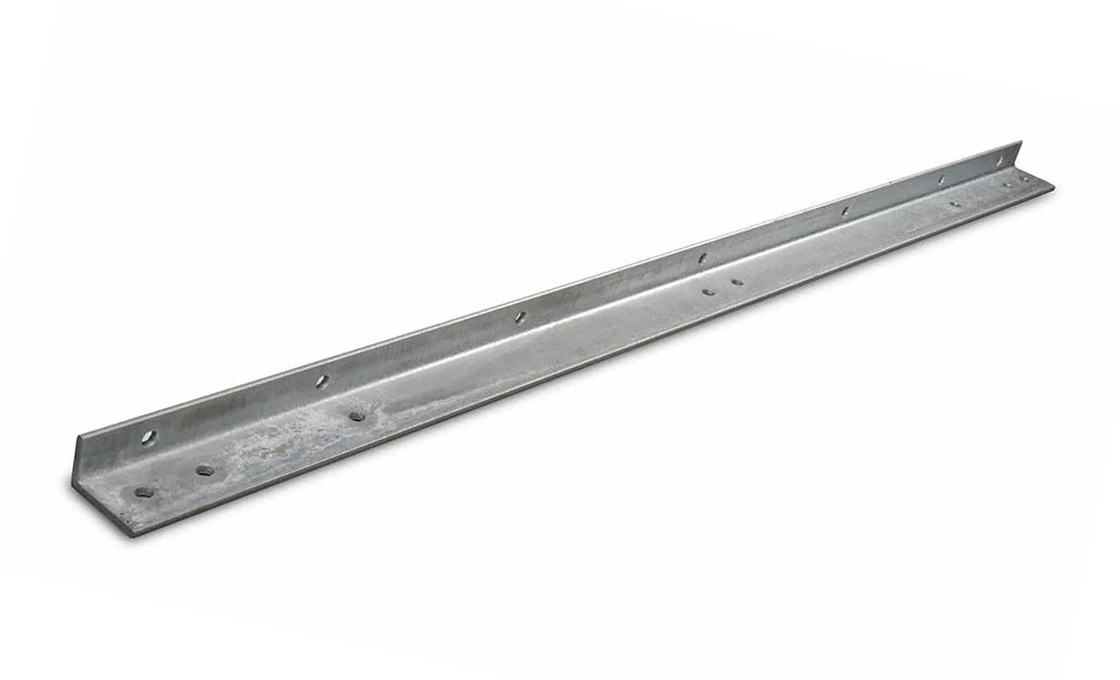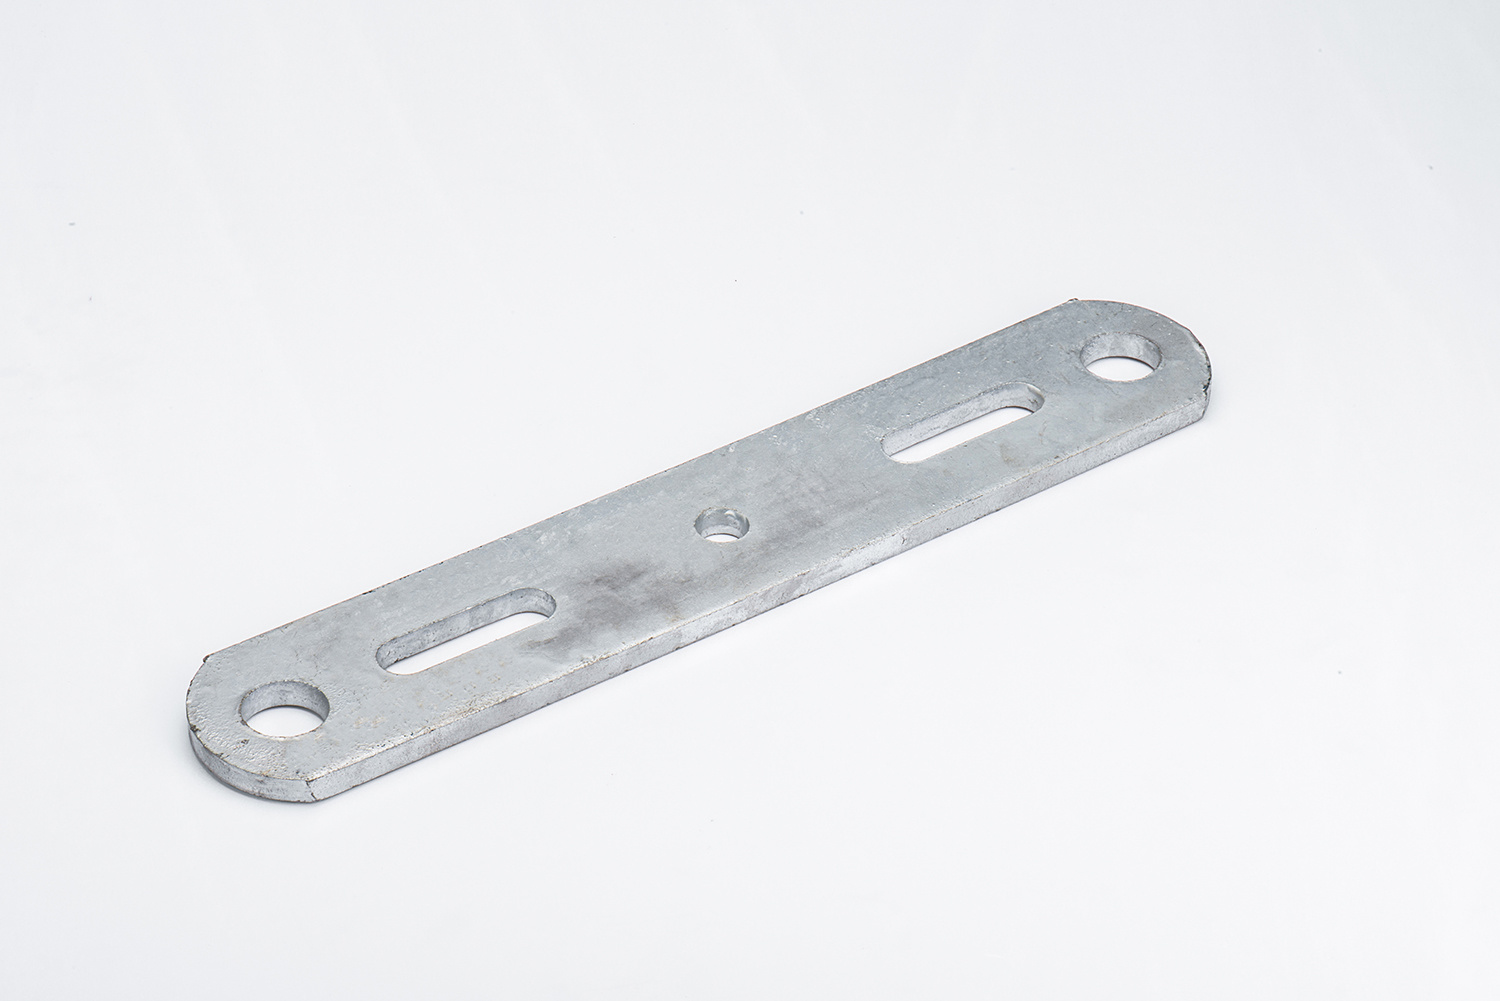
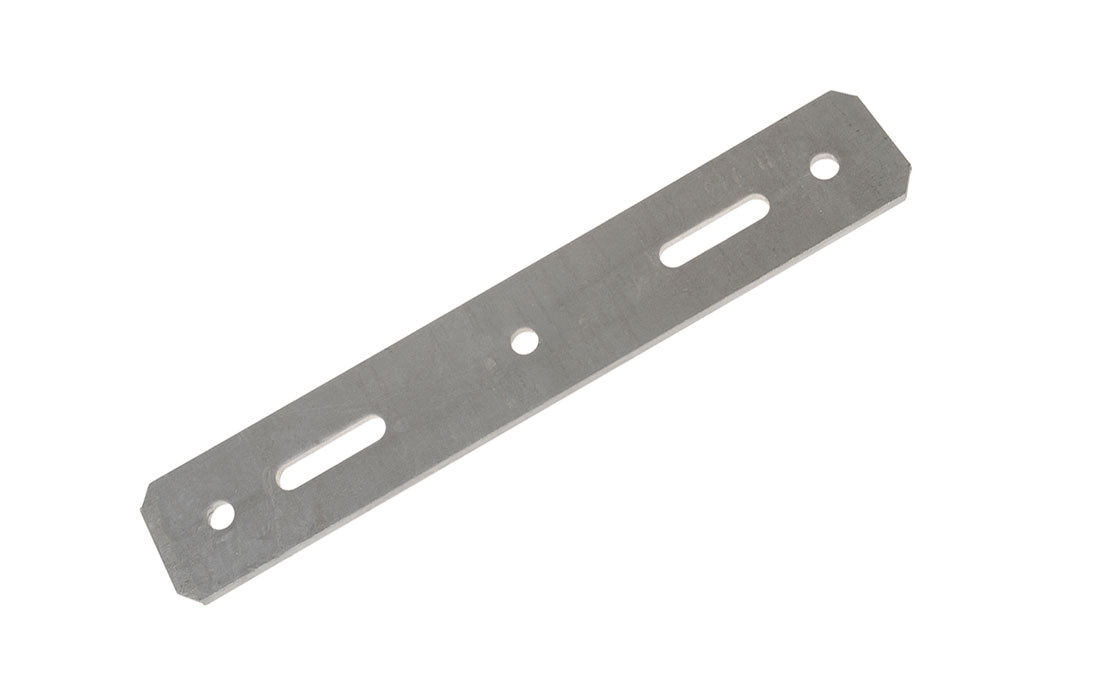
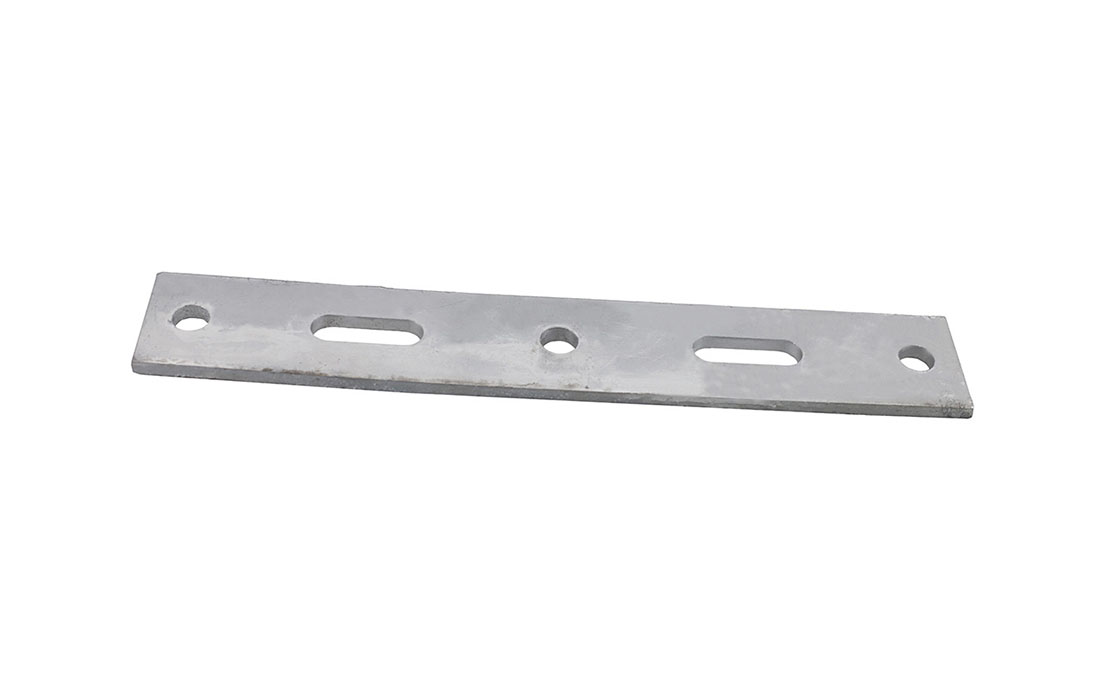
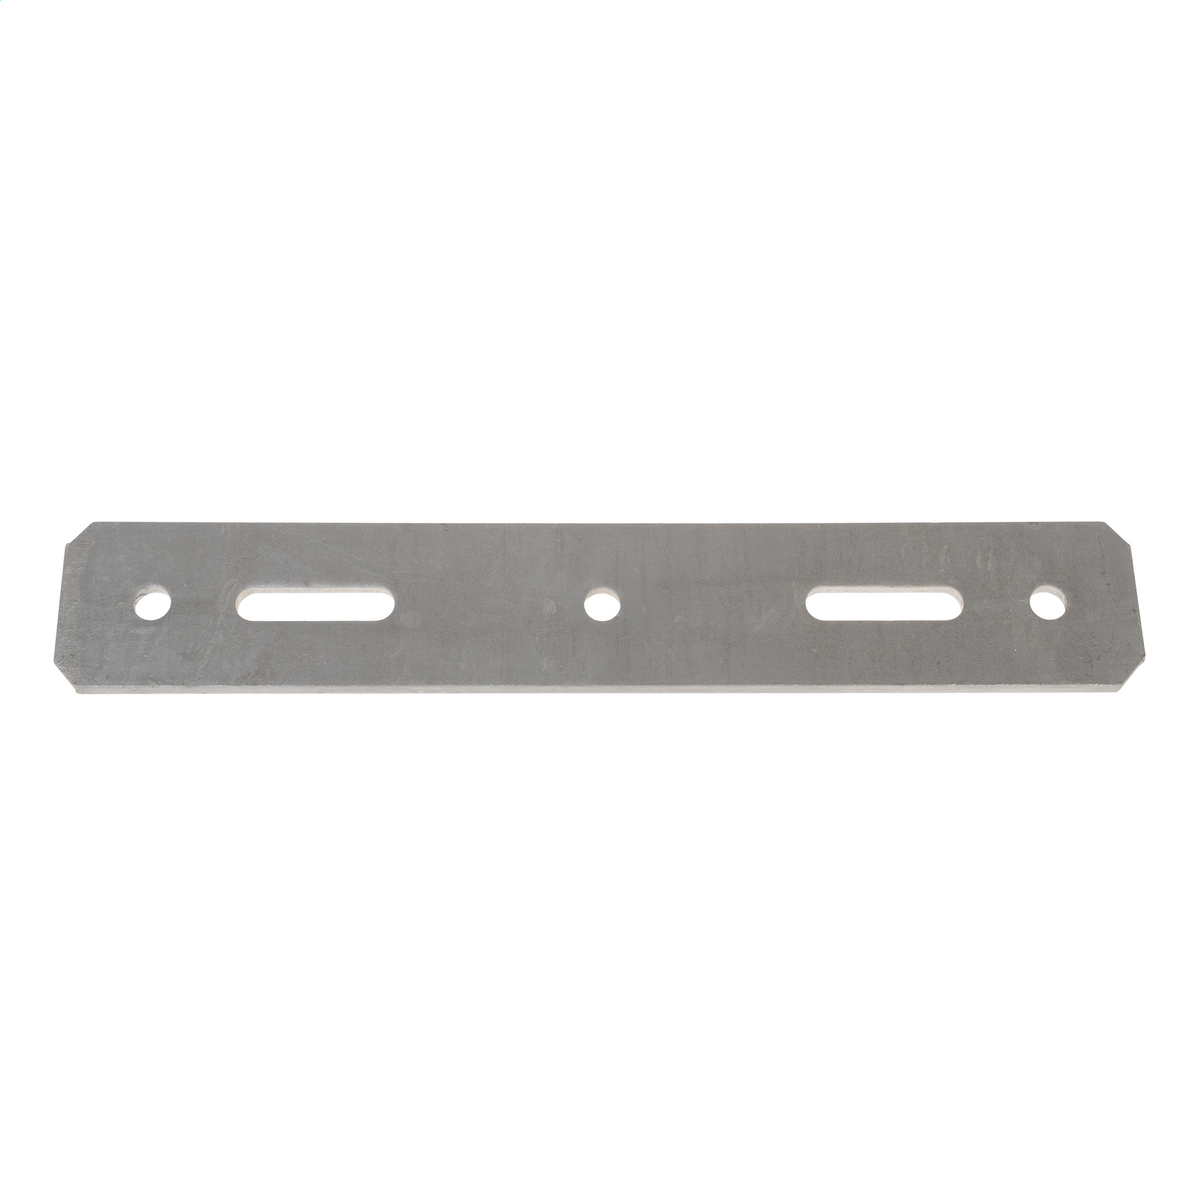
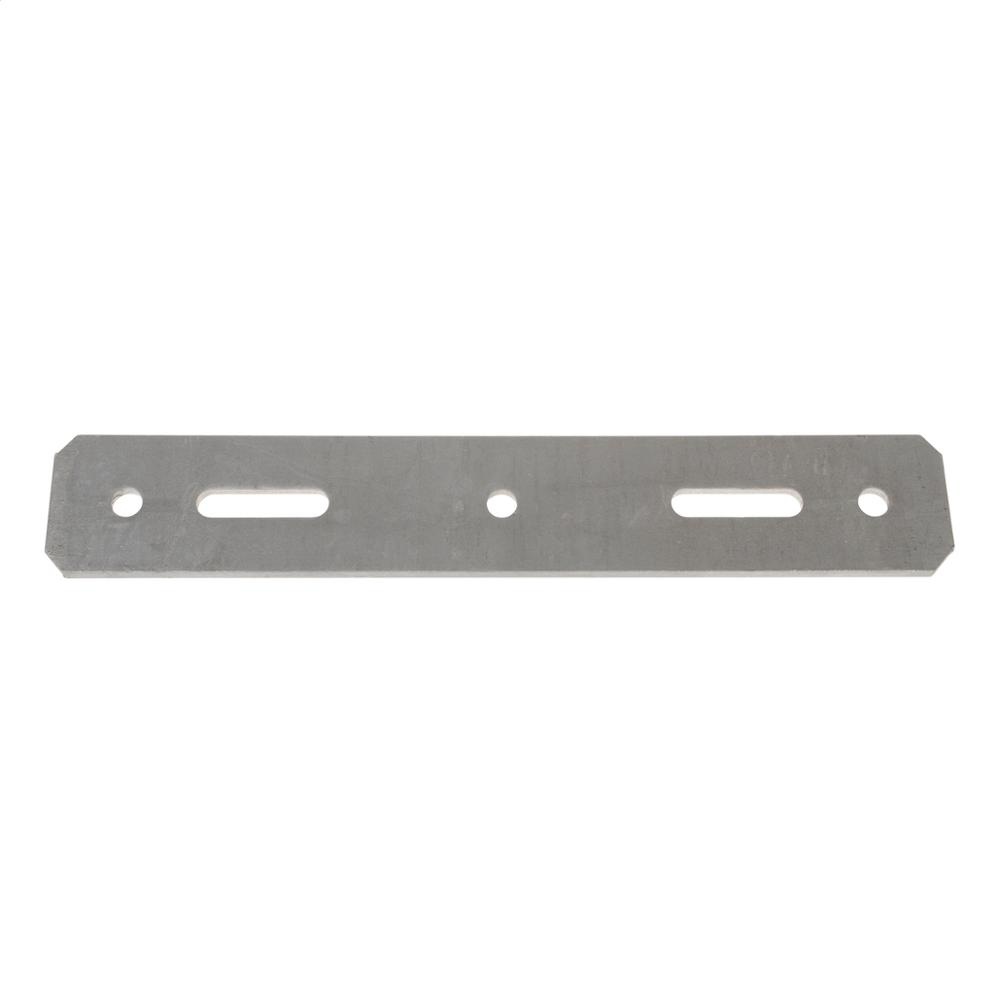
Double Arming Plate
- Long flat plate for double-arm dead-end construction
- 6 catalog sizes: 12 / 17 / 24 inch × 1/4 and 1/2 inch thickness
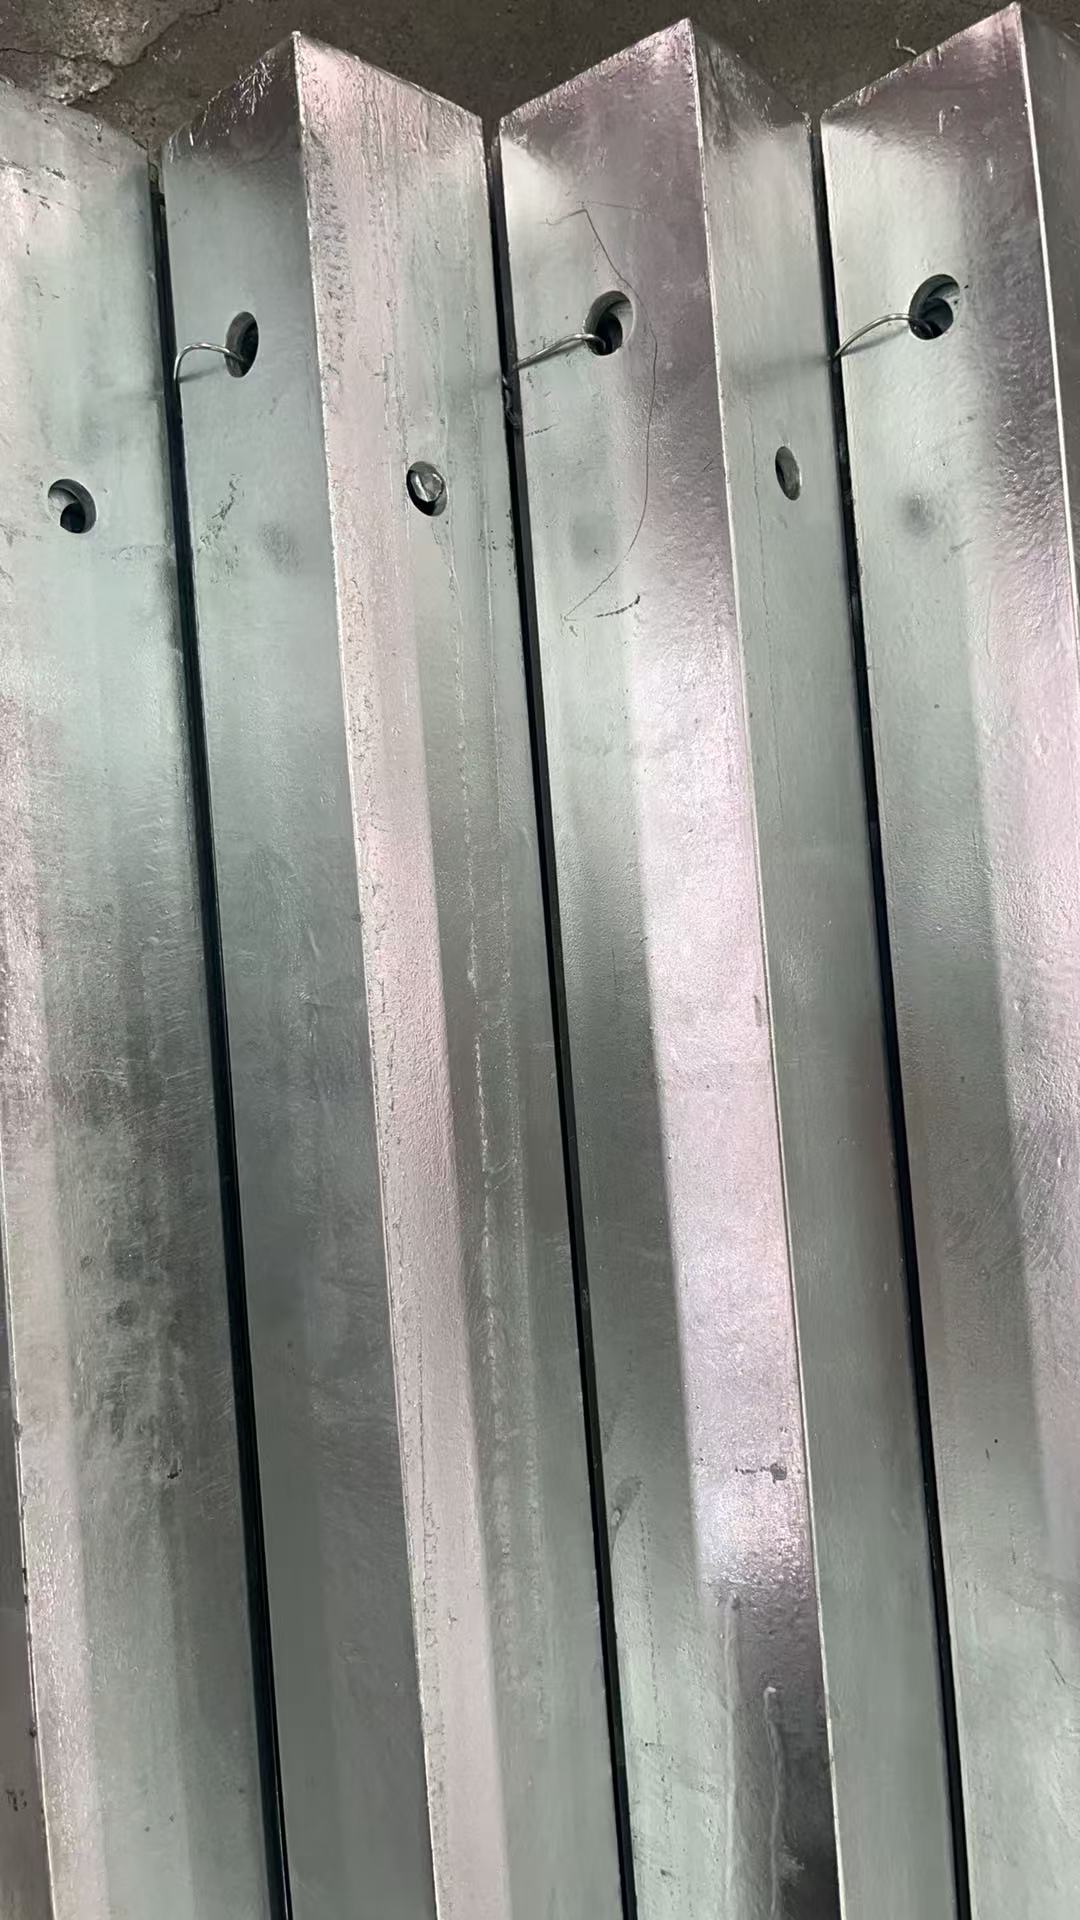
- Hot-dip galvanized to ASTM A-123 (≥86 μm) — 30+ year service life
- Mill certificate + galvanizing thickness report with every shipment
Technical Specifications
| Catalog No. | Length (in / mm) | Thickness | Weight (kg) | US Equivalent | Standard |
|---|---|---|---|---|---|
| RAX-DAP-12-Q | 12 / 305 | 1/4 in (6 mm) | 1.5 | (short) | ANSI C135.6 / ASTM A-123 |
| RAX-DAP-17-Q | 17 / 432 | 1/4 in (6 mm) | 2.2 | Hubbell 5819 | ANSI C135.6 / ASTM A-123 |
| RAX-DAP-24-Q | 24 / 610 | 1/4 in (6 mm) | 3.1 | (extended) | ANSI C135.6 / ASTM A-123 |
| RAX-DAP-12-H | 12 / 305 | 1/2 in (13 mm) | 3.1 | (heavy short) | ANSI C135.6 / ASTM A-123 |
| RAX-DAP-17-H | 17 / 432 | 1/2 in (13 mm) | 4.4 | (heavy mid) | ANSI C135.6 / ASTM A-123 |
| RAX-DAP-24-H | 24 / 610 | 1/2 in (13 mm) | 6.2 | Hubbell 5844 | ANSI C135.6 / ASTM A-123 |
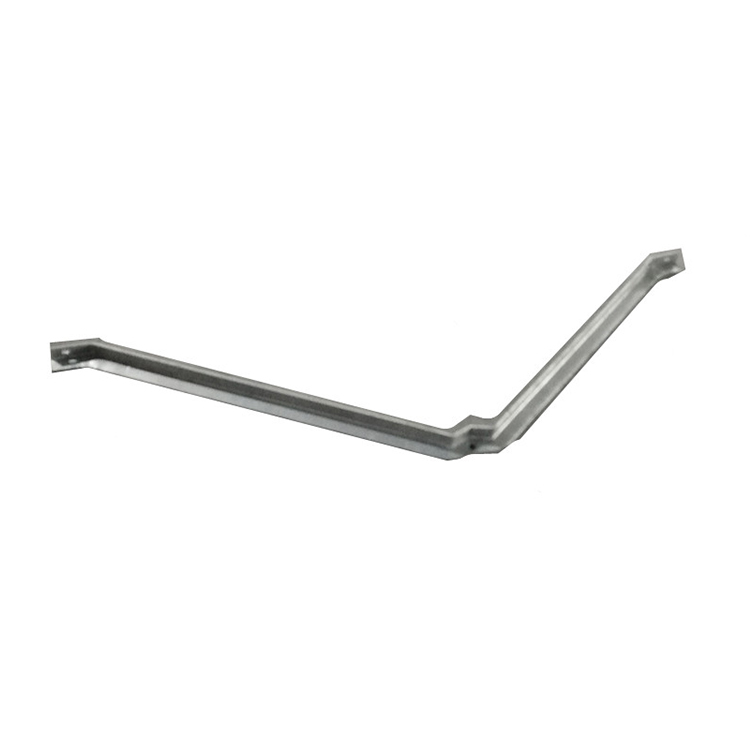
Application & Installation
Where it is used
- Transmission line dead-ends (≥69 kV)
- Heavy distribution dead-ends at large line angles or long spans
- Backbone tap-off poles where a primary line branches
- Substation egress poles with multiple incoming conductors
- RUS 1728F-810 rural electrification dead-ends
Installation sequence
- Mount the two crossarms on the pole at the specified spacing (typ. 14–18 inches).
- Position the plate spanning the back of both crossarms, center hole aligned to the insulator / deadend point.
- Verify alignment within the slot’s ±1/2 inch adjustment range; drill crossarms if not pre-drilled.
- Install the double-arming bolt with four ANSI C135.1 square nuts.
- Install the insulator pin or deadend clevis through the plate’s center hole.
- Torque to 120–150 ft-lb and verify the plate sits flat against both crossarms.
Buyer’s Guide: Double Arming Plate
1. When Do You Need a Double Arming Plate?
A double arming plate ties two parallel crossarms together at their back ends, doubling the load-carrying capacity at a dead-end, large line angle (>30°), or long-span pull. In transmission construction (≥69 kV) double-arm dead-ends are essentially mandatory; in distribution they’re standard at any dead-end or large angle.
The mechanics: at a dead-end the full conductor tension — often 2,000–5,000 lb per conductor in distribution, 8,000–15,000 lb in transmission — acts horizontally on the crossarm, trying to bend it backward against the pole. A single crossarm in that scenario will deflect, twist, or fail at the bolt. Mount two parallel crossarms with 14–18 inches of spacing and tie their back ends together with a double arming plate, and the load is shared symmetrically between two arms. Bonus: the double-arm structure also provides a much wider working envelope for mounting multiple dead-end insulators or branch-line connections. The alternative — a single arm with a heavy-duty bracket — is mechanically inferior at the same weight and cost. Drop-in compatible with US utility specifications including Hubbell 5819 and 5844 dimensional patterns.
2. How to Choose the Right Size
Length matches the crossarm spacing on the pole:
- 12 inch — tight 10–12 in spacing (compact distribution)
- 17 inch — standard 14 in spacing (the most-ordered size)
- 24 inch — wide 18–20 in spacing, or extra mounting room
Thickness by conductor tension and voltage:
- Q (1/4 inch) — distribution ≤24.9 kV, conductor tension below 5,000 lb
- H (1/2 inch) — transmission ≥69 kV, or any tension >5,000 lb
If your drawing specifies a Hubbell catalog number, use the spec table cross-reference. A common project-spec mismatch: drawings calling for the heavy 1/2 inch plate at 14 inch crossarm spacing — the answer is RAX-DAP-17-H, not RAX-DAP-24-H. Always order the matching double-arming bolt on the same PO: 3/4 inch diameter, length = plate length + 6–8 inches for the back-side plate and nut clearance. Custom lengths or hole patterns: 5–7 day tooling, 200-piece minimum.